|
How to Create a Vignette |
|
|
(Part 1)
|
|
|
In this project, you will be making a tutorial image following the directions below, and then moving on to the Creating a Custom Vignette. This part of the assignment is worth 25 points. |
|
|
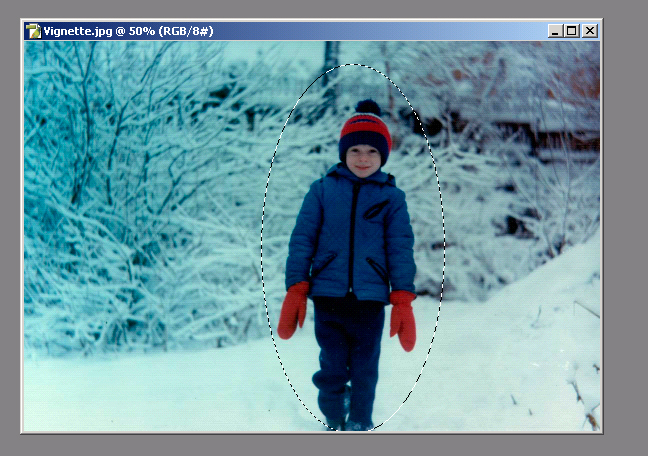
Creating a vignette is a common technique in photography to enhance any image and help the viewer focus on the main subject. Using Photoshop, you can make a vignette for any image. In this tutorial, you will learn how to create a vignette using the image shown below. You can effectively create a vignette using any image, but it’s best if you use an image that has a single focal point, preferably toward a natural center. A vignette can be any shape, but for this example you will use an oval, which is the traditional and most common vignette shape. Go to the Public Folder marked "Computer Art 2005" and open the folder marked "Tutorial Images". Open the image named "Vignette.jpg" First you need to make sure the image is on a layer other than the background layer. If it is on the background layer, turn the background layer into a regular layer by double-clicking on the Background Layer designation in the Layers palette and choosing OK in the resulting New Layer dialogue box.
|
|
|
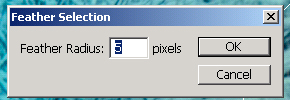
Next, select the area of the photo to which you want to draw attention. Choose a spot on the picture where the eye tends to be drawn naturally. Make your selection using the Elliptical Marquee tool by placing the cursor on the focus point you chose or in the middle of the photograph. While holding down the ALT key, click the center of the focal area and drag the tool outwards until you have the oval that you want. The edges of a classical vignette fade into the background. You can create this effect by using the Feather command to soften the edges of the selection. The Feather command is found in the Select menu. To get to the Feather tool, choose Feather from the Select menu. You can usually use 5 pixels for the Feather Radius as shown at right. If the image had particularly high resolution, you will have to increase the Feather Radius.
|
|
|
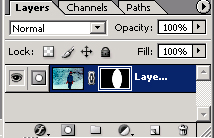
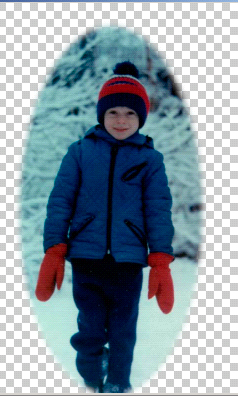
You have now created an oval selection around the focal point of the photograph and blurred the edges of the selection. To create the vignette, click the Layers menu, then go to Add Layer Mask, and finally, Reveal Selection. Alternatively, you can delete the portions of the image you do not want to include in the vignette. Do this by inversing the oval selection to select the other parts of the image. Choose the Inverse command from the Select menu, and press the DELETE key to delete the inverted selection. What is left is a finished vignette, as shown above to the right. Once you have completed this quick tutorial save your image of the feathered boy in the "Computer Art 2005" public folder under "Finished Work". Be sure to save the file in your name so I know who completed this lesson.
|
|
|
|
|