|
How to Create a Custom Vignette (Part 2) |
|
| In this assignment, you will be making a tutorial image, and then completing one on your own. Each work is worth 25 points = 50 points total for this project. | |
|
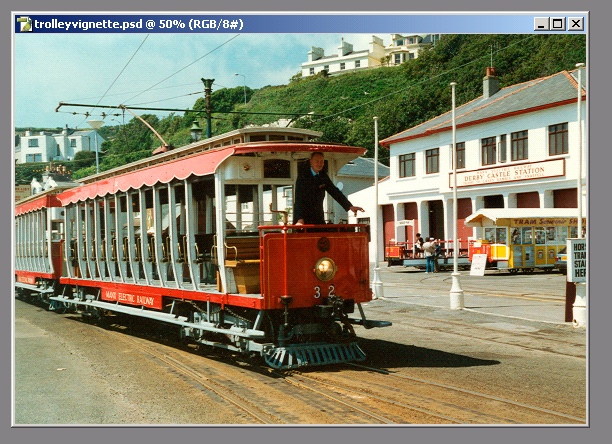
Now you will see how easy it is to create a custom vignette using the custom shapes that come with Photoshop. Follow the steps outlined below.
|
|
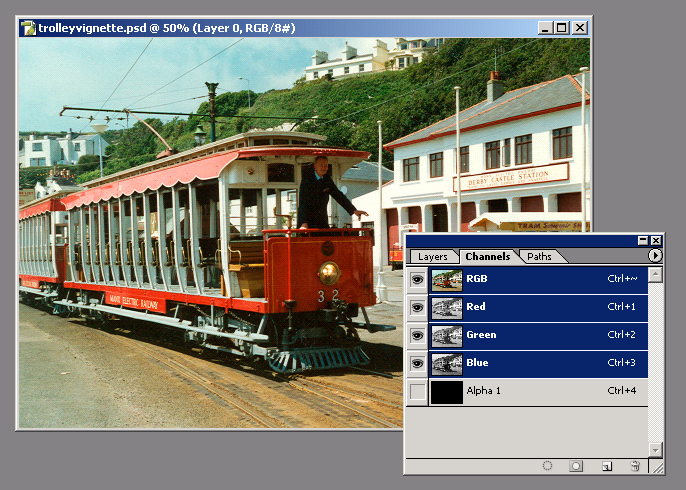
| 3. Click and Channel tab, then click
the New Channel button. This will create a channel called Alpha 1. Notice
that you can no longer see your image. Click the RGB layer to reveal the
image as well as keeping the Alpha channel.
|
|
| 4. Click the Custom Shape tool
in the Tools palette, and then select the Heart shape, as shown below.
|
|
| 5. Make sure that the foreground color is set
to white. Now click and drag out the shape on the actual image, making
sure you have the Alpha 1 channel selected in the Channels palette. Using
the Move tool, you can move the shape around on the image to encompass the
front of the trolley.
|
|
| 6.Now deselect the Alpha channel
and make sure the three-color channels are visible. Click the Layers
palette. Click the Select menu, and then click Load Selection. In the
channels section, select Alpha 1, then click OK. This will load the
custom shape as a selection.
|
|
| 7. Now click the Select menu and
click Feather. Type in a feather radius of 10 pixels, and then click OK.
|
|
|
|
|
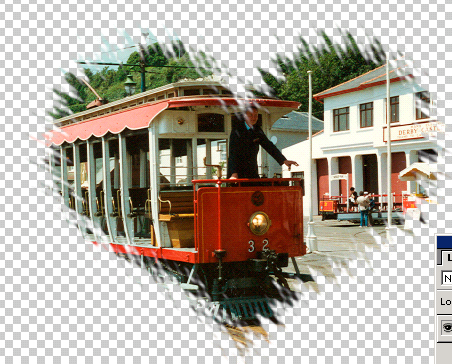
| 8. Now click the Layer menu, then
click ADD LAYER MASK, then click Reveal Selection. You now have created a
custom vignette.
|
|
|
|
|
|
9. To add a final touch to the effect you can apply a filter to your newly create vignette. This will create the effect of a textured border. Click the Filter menu, select the Distort submenu, and then select Ripple. In the Ripple filter dialogue box, increase the ripple to enhance the border effect. Click OK when you are done. Pretty easy, huh?
|
|
|
|
|
| 10. Once you have completed
this quick tutorial save your image of the trolley tutorial in the "Computer
Art 2005" public folder under "Finished Work". Be sure to
save the file in your name so I know who completed this lesson.
11. Now, make a custom vignette image of your own following the steps in this lesson and save a copy of your file within the "Finished Work " folder under Computer Art 2005. |
|