Creating a Multiple Self Portrait
using Adobe Photoshop CS
In this tutorial, you will be
using most direct way to create an image multiple times and then applying a
variety of filters to those four images.
You may wish to add text to your image, too.
Okay, let's get started!
FIRST THINGS FIRST! KNOW YOUR COMMANDS
& TOOLBAR IN PHOTOSHOP:
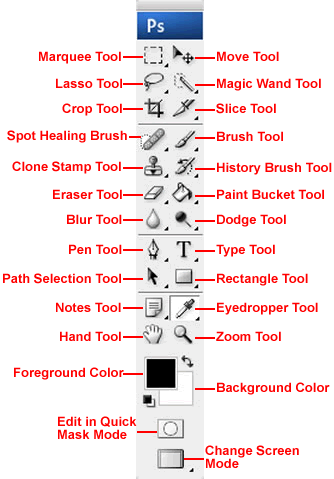
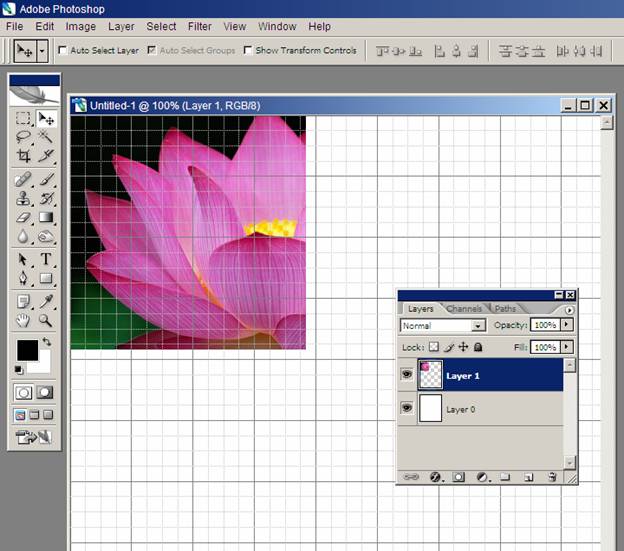
Before we begin make sure you
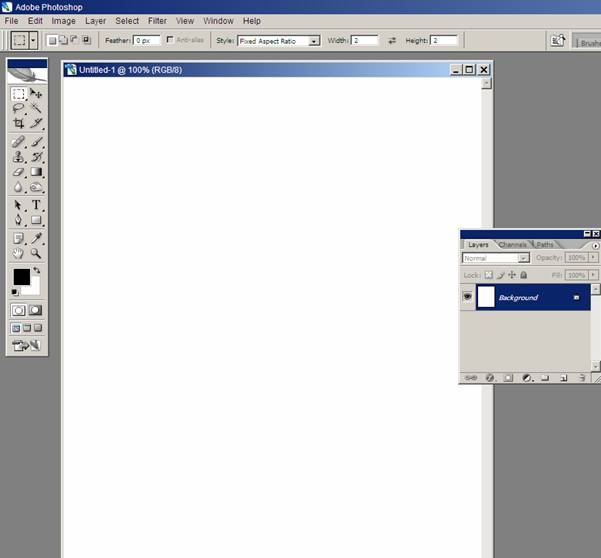
understand a little about the basic tools that you have to work with. At the top of the screen is the COMMAND MENU BAR and on the left of
your screen is the TOOLBAR. (See the image?)
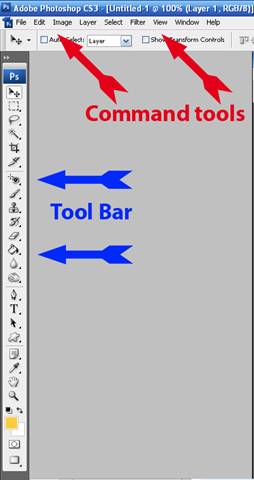
The toolbar is located at the
left of your screen. In the image
below, make sure you pay attention to the location of the Move tool. You will
use this one the most frequently.
Step 1-
Get Your Photo & save it to your user folder
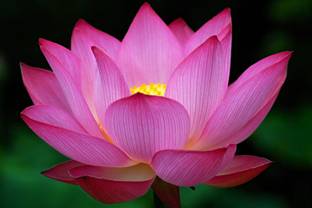
For the example, I have used this picture of a flower for this tutorial,
you, however, will use the photograph of yourself we took in class. Go to the
public folder marked “Ejohnson” and find the folder within that is marked “7th grade
Step
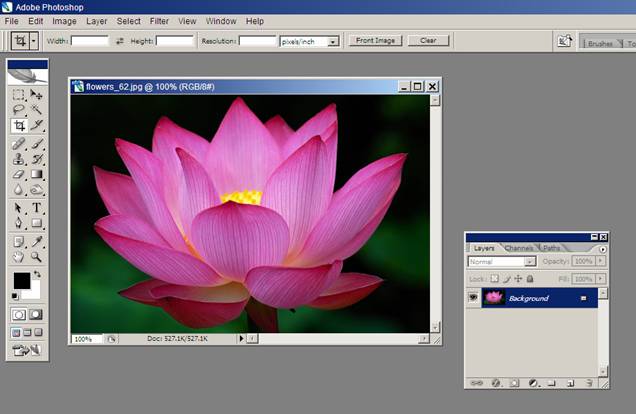
2 - Open your
photograph in Adobe Photoshop CS
The Adobe Photoshop software
program is located on the bottom toolbar of your screen. It is the icon that is the blue feather on a
white rectangle. Click on the icon and wait
for it to load. Go to the command bar
at the top and select
Step 3- MAKING A
Now you are ready to make a new file and begin the process of duplicating your
image so that you will have four pictures. What we'll do is create a new blank file and
fill it with the photograph of your four times.
Create a new blank Photoshop document by
selecting,
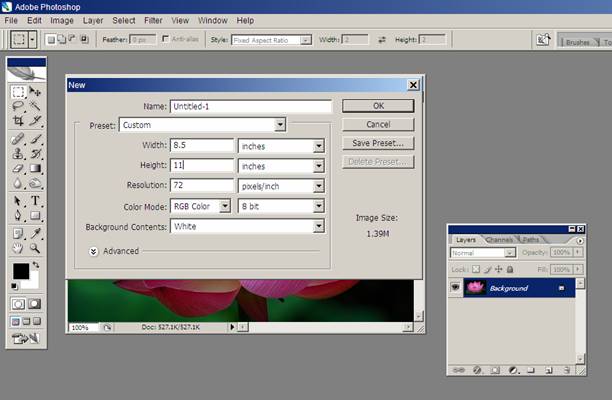
Here is what the new
file should look like. This is what you will be working on to create
your image. This new document is now called “Untitled -1”. This will be
the background that you will put your original photo on.
Step 4 -
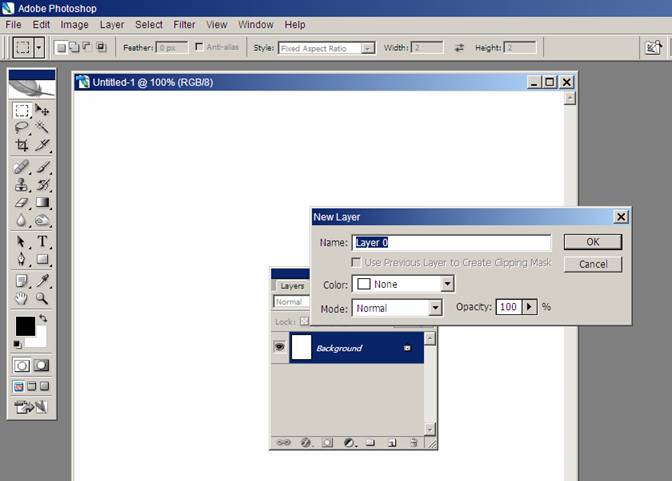
UNLOCKING THE BACKGROUND LAYER
Unlock the background layer by left clicking
twice in the blue area of the box that is located on the right of the screen.

Step 5 – TURNING ON THE GRID FUNCTION
You will use the grid function to
help you line up all of your duplicated images of yourself. Now that you have
unlocked the background you now can turn the grid on the image so you can use
this as a means for aligning all of your tiles exactly with each other. To do this you will need to select at the top
of the command bar, VIEW, then 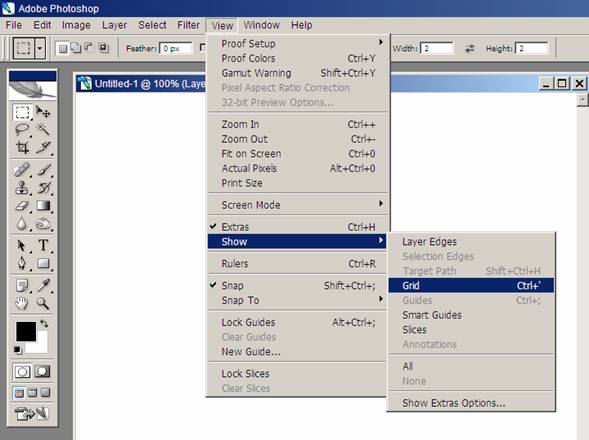
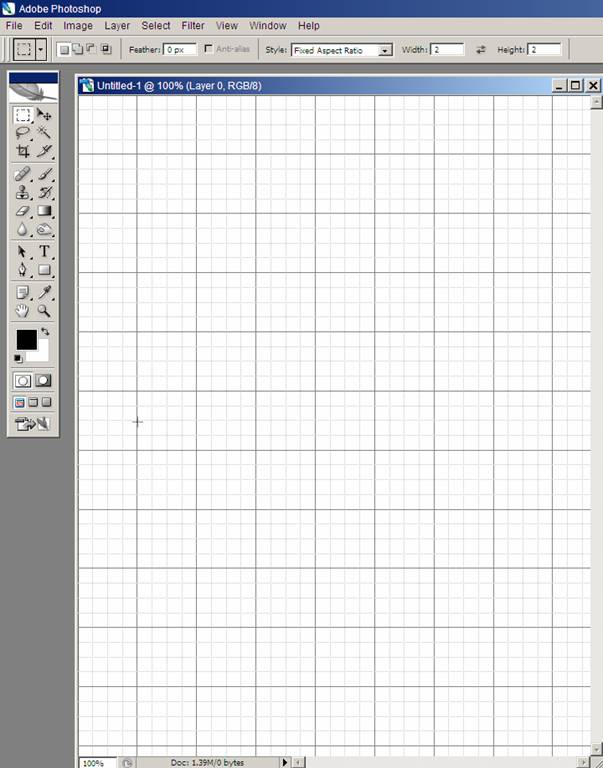
Once you have selected the GRID as being on this is what your
surface should look like. See image below.
Don’t worry, the grid marks can be turned off or on as you need, but for
now, leave it turned on. It will help
you in making the four images line up perfectly.
Step 6- ADDING THE ORIGINAL PHOTOGRAPH AS A
Next you will reopen the image of
your original photograph and simply drag that layer into the
Here is what your new
added image should look like.
Notice how you now have an additional layer,
now called Layer 1 on top of the original Layer 0. Keep track of your
layers because it will be important later!
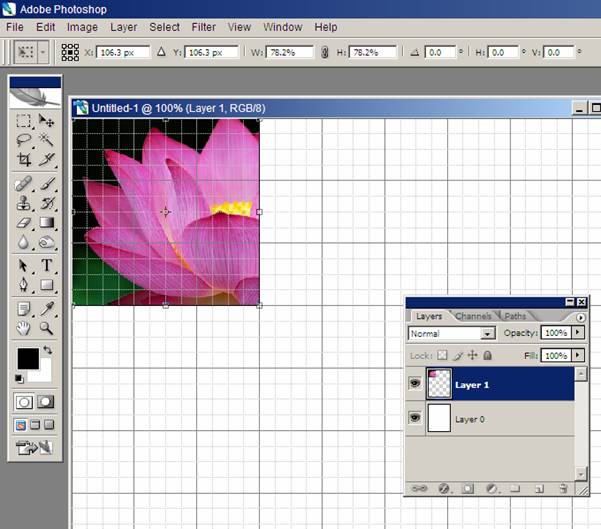
Step 7 – RESIZING
or TRANSFORMING YOUR PHOTO
Chances are good that your original photo may be too large for the 8.5 x 11”
background. If you need to resize the
image in Layer 1, you will need to make sure that Layer 1 is active (should be
blue colored) and then go to the command bar and select EDIT, then TRANSFORM,
and next SCALE.
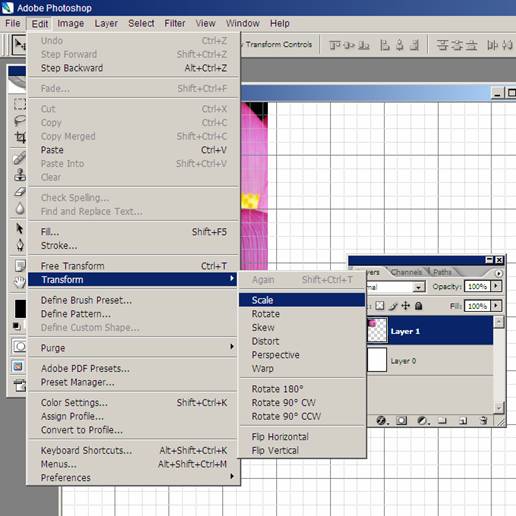
In doing so you can now use the
mouse to grab the edges of the image to expand or contract it to a more
managable size.
You will need to use the
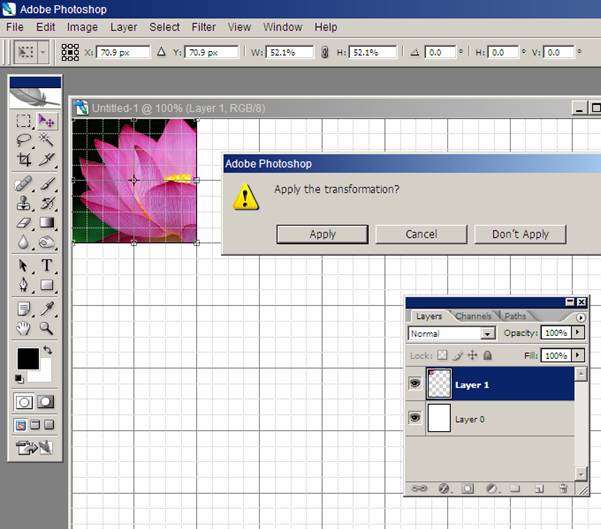
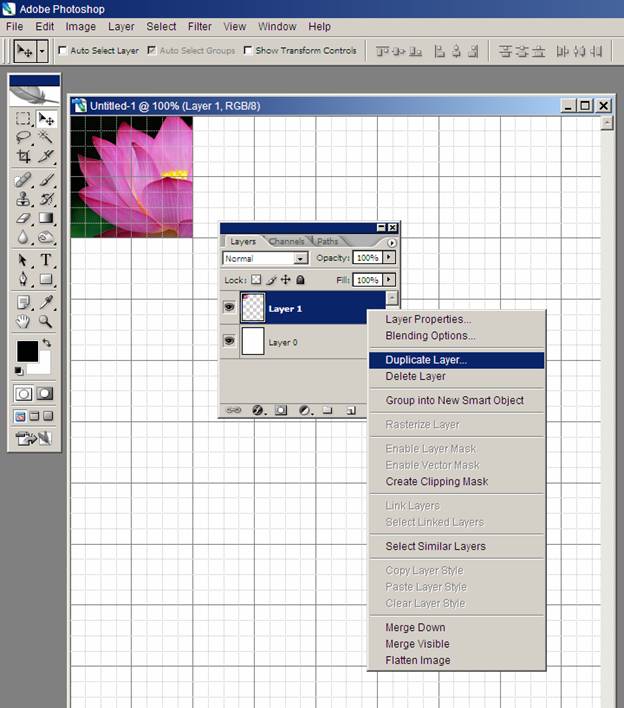
Step 8 – DUPLICATING THE ORIGINAL LAYER
Next you will copy or duplicate
Layer 1. This is easy! You can right click with the mouse in the
blue area again where it says Layer 1 and then select DUPLICATE LAYER. Select the move tool again to slide the new
layer over and place it next to Layer 1.
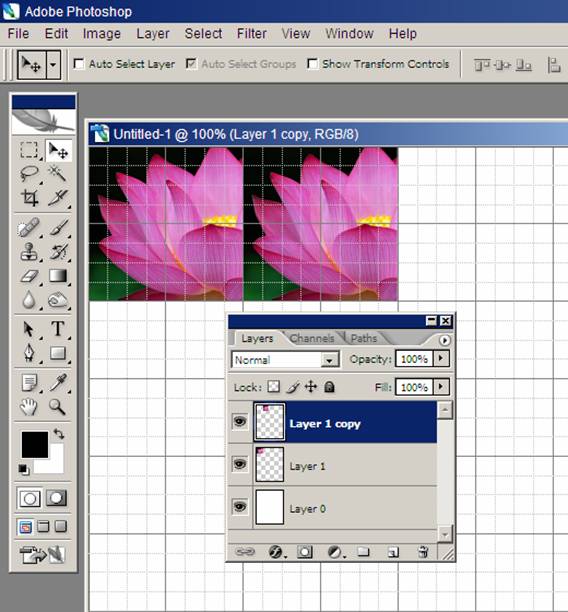
It should look like
this now. Notice that in the image below you now have a
new layer called “Layer 1 copy” located on top of the the previous layers. Cool, huh?
You can rename any of the layers just by clicking on the blue box and
changing it to whatever you want to call that layer.
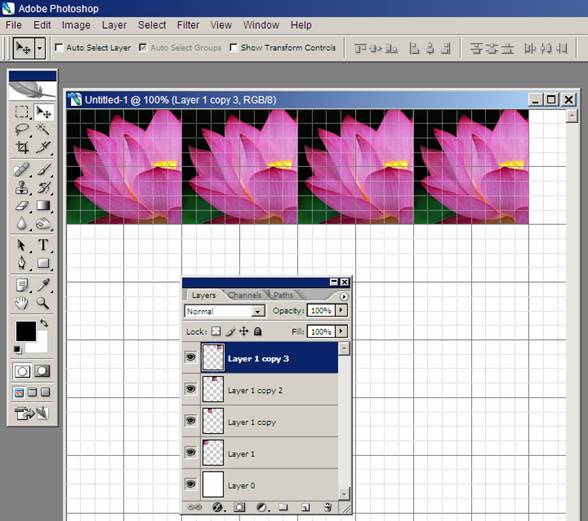
You can continue the steps that repeat
duplicating the layer and it as many
times as you need until you fill the space on the page.
See the below image. There are now four identical layers!
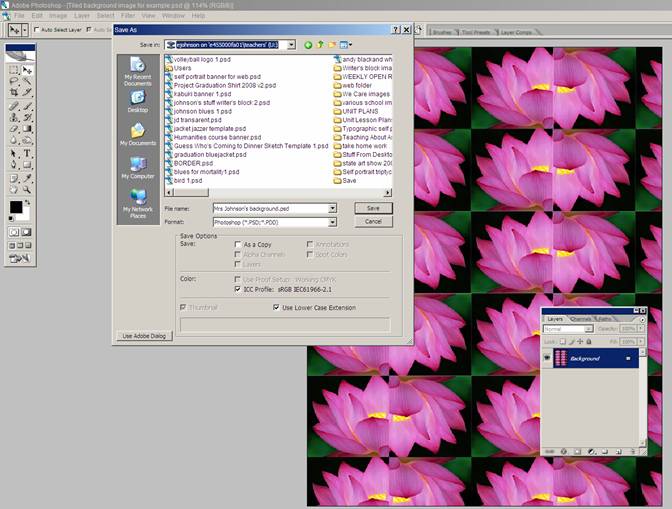
When you finish be sure to SAVE
YOUR
See below image.
Step 9.
APPLYING FILTERS TO EACH LAYER.
Now that you have four or more
diferent layers, select layer 1 and go
up to the menu bar and select, “FILTERS”.
There are several different kinds of artistic, textural, and lighting
filters to play with on your picture for this layer. If you don’t like a particular filter, you
can undo the step by going to the EDIT menu and choosing “UNDO”. There is also a keyboard shortcut to undo a
step (crtl + Z).
For each photo layer, try out
different effects and filters. Each
filter has several ways to adjust it to your liking. You
can also use the TEXT TOOL on the tool bar to add words on top of your layers.
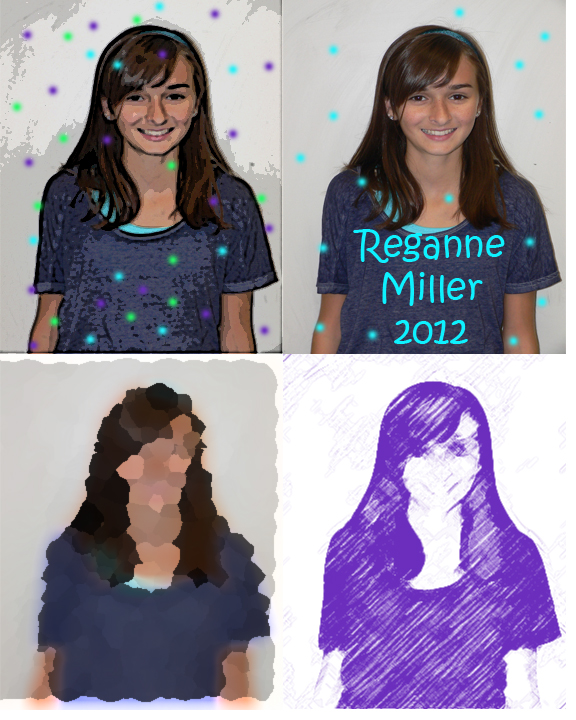
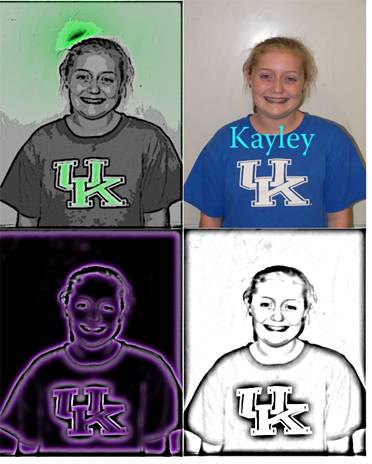
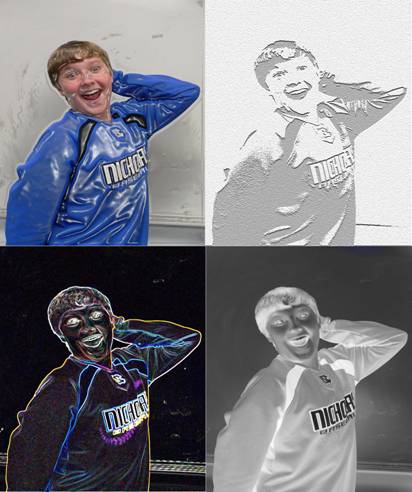
Once you are completely finished,
your portrait will look something like this.